Getting Started
Get up and running with Tappie in just a few minutes.
1. Prerequisites
Before installing Tappie, make sure you have:
- macOS 14.0 (Sonoma) or later
- Homebrew installed on your system
2. Installing Homebrew
If you don't have Homebrew installed, open Terminal and run:
/bin/bash -c "$(curl -fsSL https://raw.githubusercontent.com/Homebrew/install/HEAD/install.sh)"Note: Follow the on-screen instructions to complete the Homebrew installation. You may need to add Homebrew to your PATH.
3. Download and Install
Download Tappie from our download page. The app comes as a DMG file.
- Open the downloaded DMG file
- Drag Tappie to your Applications folder
- Launch Tappie from Applications or Spotlight
- If prompted, allow Tappie in System Settings > Privacy & Security
4. First Launch
When you first open Tappie, the app will:
- Check for Homebrew - Verifies Homebrew is installed on your system
- Sync Package Database - Downloads the complete list of available packages
- Load Installed Packages - Scans your system for installed Homebrew packages
Tip: If Homebrew is not installed, Tappie will show a setup screen with installation instructions.
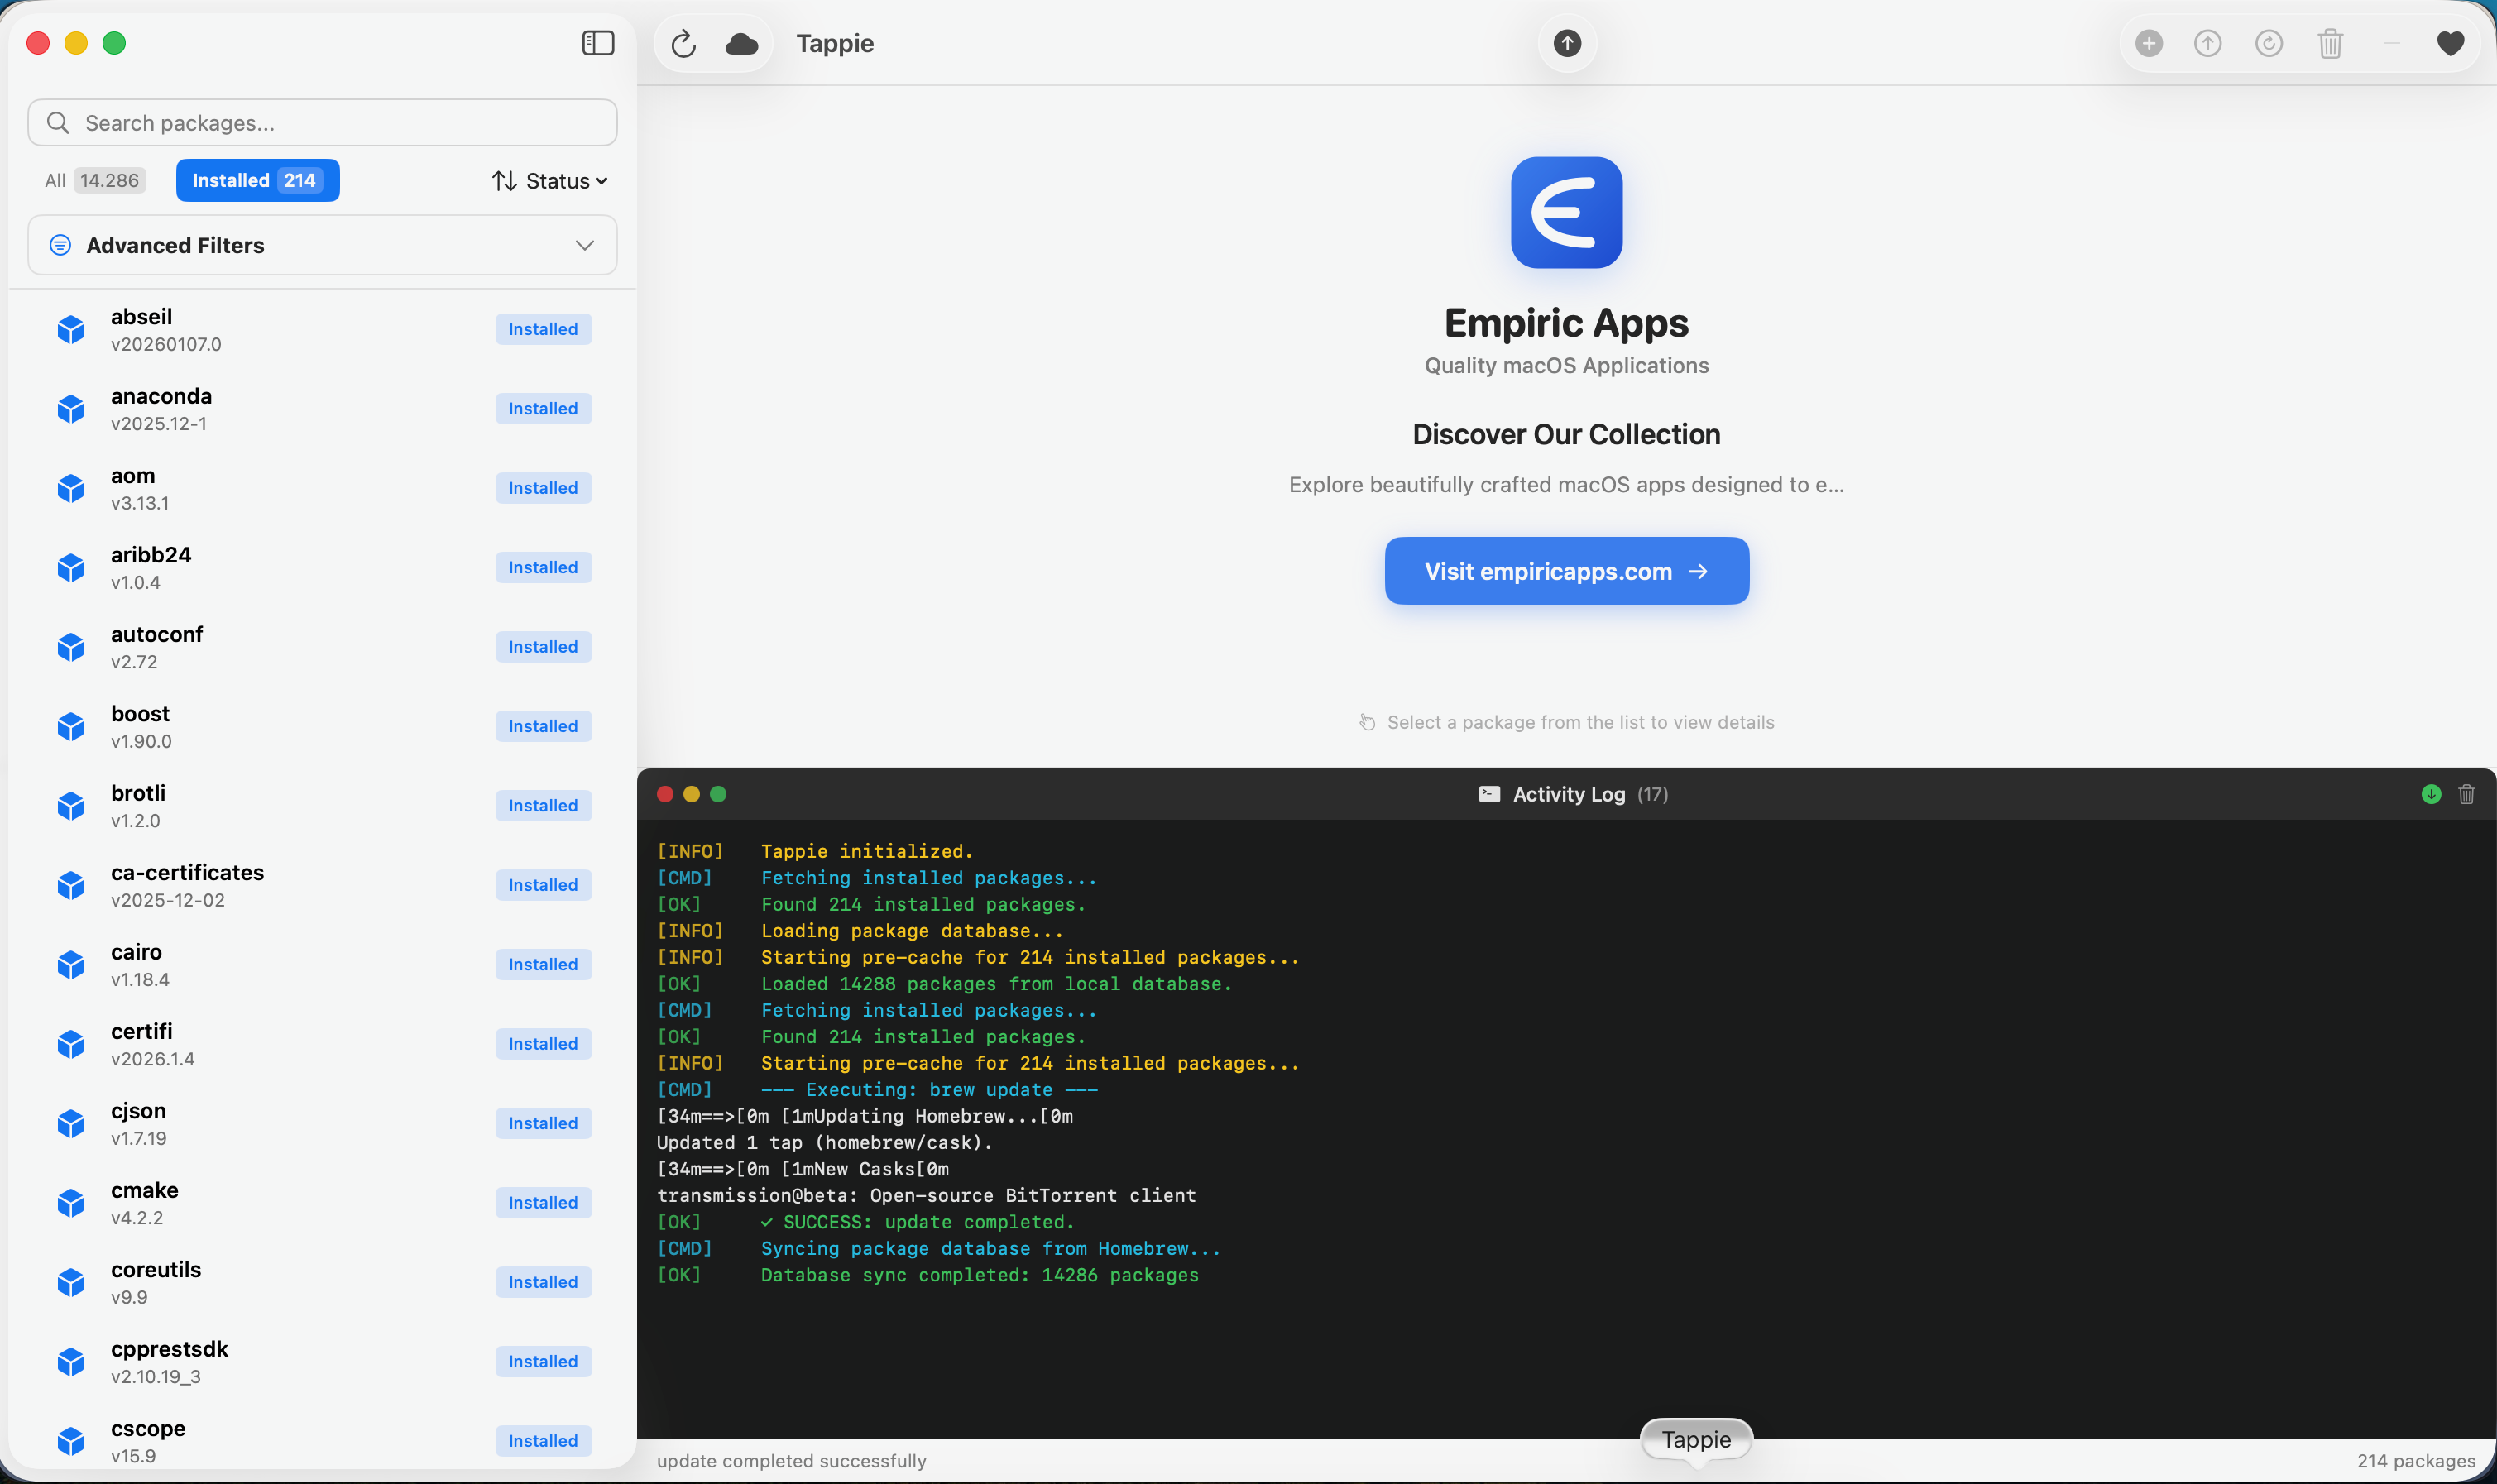
5. Interface Overview
The app uses a three-panel layout:
- Sidebar (left) - Package list with search and filters
- Details (right top) - Information about the selected package
- Activity Log (right bottom) - Real-time terminal output
6. Install Your First Package
Let's install your first package with Tappie:
- Use the search bar to find a package (try
wget) - Click on the package to select it
- Click the Install button in the toolbar
- Watch the installation progress in the Activity Log
- Done! The package is now installed
Essential Keyboard Shortcuts
Cmd+, | Open Settings |
Cmd+R | Refresh Package List |
Cmd+F | Focus Search |
Cmd+Shift+U | Update Homebrew |
Cmd+Shift+G | Open Dependency Graph |